There are a lot of things out there that you question how they are made. Yes, including me. And honestly, why should you bother knowing about them when a lot of things are eating at your time?
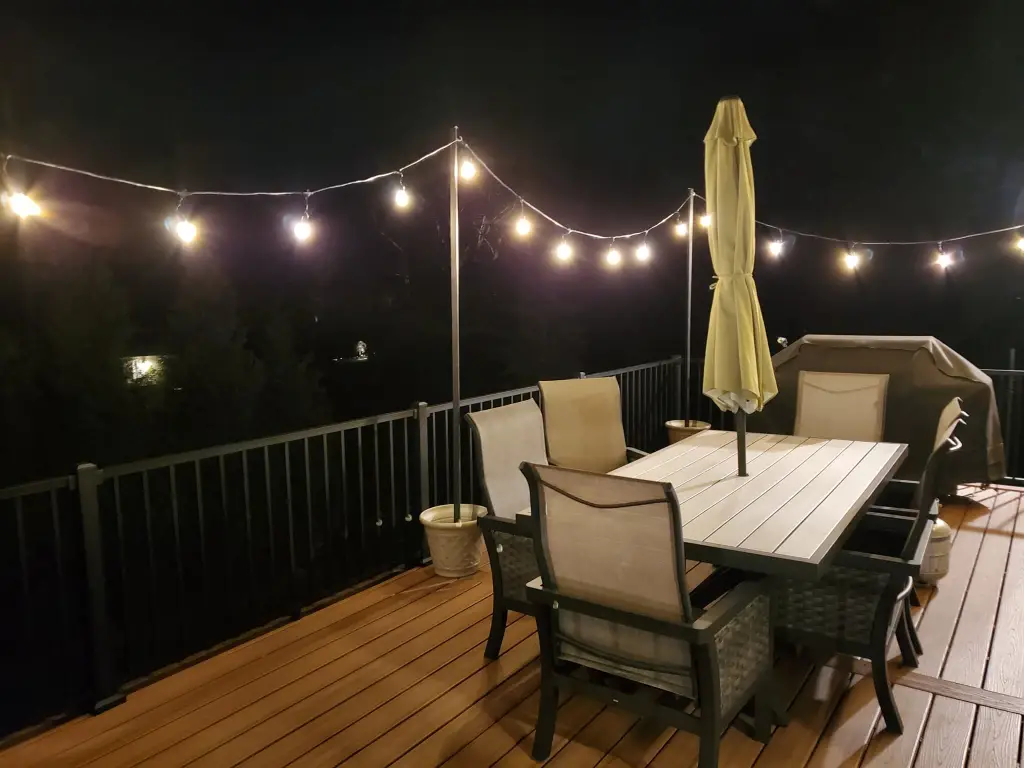
However, you take a look at your elevated deck this morning and you thought, this deck needs some attractive finish. You decided to use your weekend for that. Then you remember, oh! this deck is made from pressure-treated wood can I apply stain or paint on it? You then realize you need more information on that.
Here’s what I found:
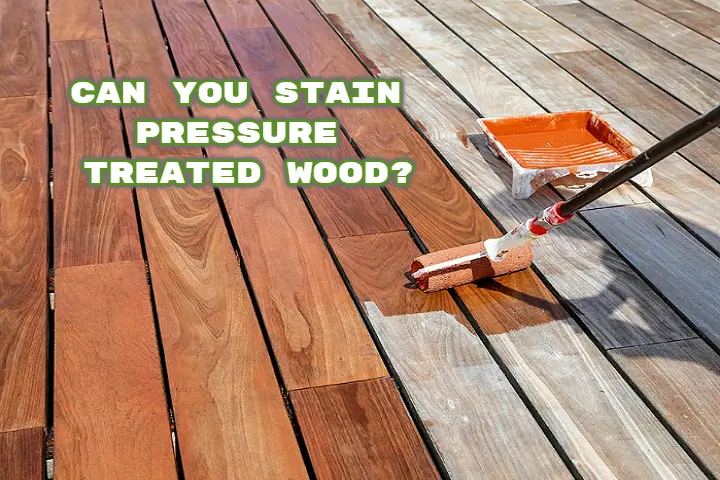
Can You Stain Pressure Treated Wood?
You can stain pressure-treated wood fences and wood decks to protect the wood surface from cracking. You must wait 72 hours for the pressure-treated wood to dry completely before staining. Otherwise, the staining will be ineffective. Oil-based stains are the best stains for pressure-treated wood.
You can stain your pressure-treated wood, and this article will provide you needed information. Questions like can you stain a pressure-treated wood deck? How is pressure-treated wood made? Is it better to apply stain or paint pressure-treated wood? How do I stain or paint pressure-treated wood?
Related Post >> Best Deck Stain For Pressure Treated Wood
Hence, stay calm and keep reading.
- Can You Stain Pressure Treated Wood?
- What Is Pressure-treated Wood?
- Stain or Paint
- Staining Pressure Treated Wood
- Tips and Techniques for Staining Pressure-treated wood
- Dry Time
- How to Hasten Up The Drying Time of Pressure-treated Wood?
- Testing The Water Level of Your Pressure-treated Wood
- Do Not Prematurely Stain Pressure-treated Wood Decks
- Benefits of Staining Pressure Treated Woods
- Maintenance of Stained Pressure-Treated Wood Deck
- Conclusion
What Is Pressure-treated Wood?
I believe the right way to start is by knowing what a treated wood is. How is a treated wood made? Why is it called pressure-treated wood?
Woods generally have high water content and retains water, the reason they can transport nutrients to leaves and branches. As a result, when woods are cut, they hold a lot of water, and if they are not subjected to drying, the water will cause them to decay.
Now, the question is, what about the woods that are used outdoors and exposed to rainfall? Won’t they absorb moisture again and get weakened? Also, if they get in contact with the ground, won’t insects infest them? Yes, you are right. And that is more of the reason why we have pressure-treated lumber.
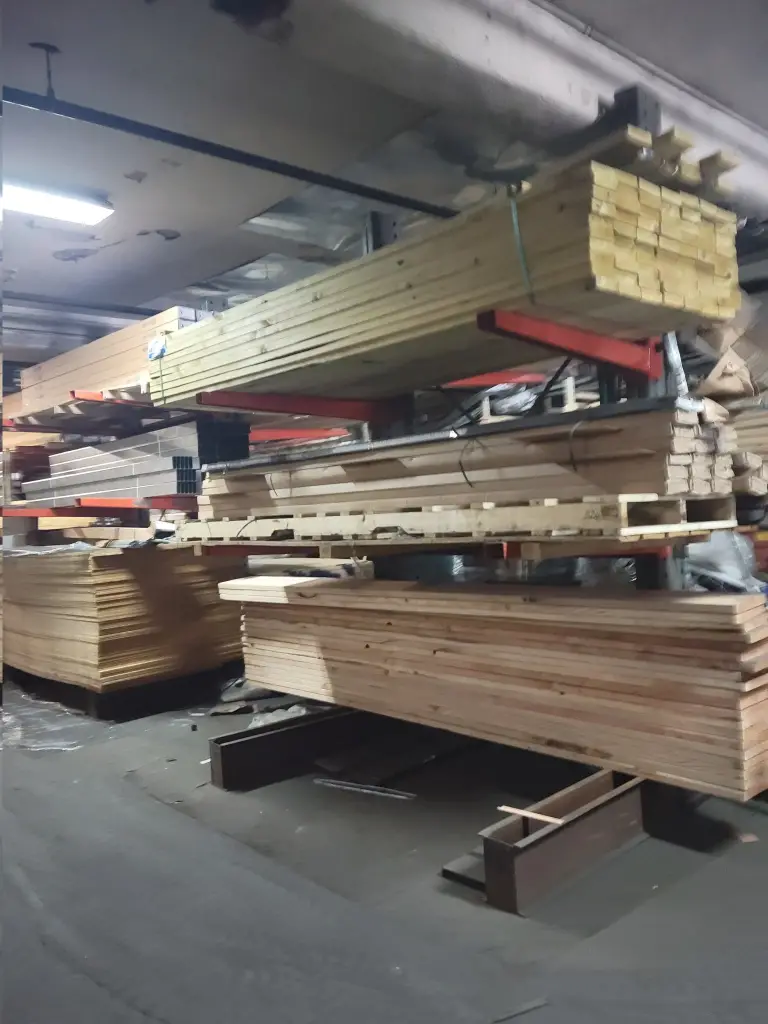
When wood is subjected to certain chemicals that work to preserve them, such wood is called pressure-treated wood. The reason for the pressure is that pressure is needed to make the preserving chemicals fully penetrate every fiber of the wood.
How Is Pressure-treated Wood Made?
Am I the only one curious about how pressure-treated wood is made? Let’s quickly look at the details of this pressure treatment. As earlier mentioned, wood is susceptible to fire, insect attacks, and moisture. As a result, it is passed through the following process to make it more durable.
- The wood is placed in a vacuum tank, cylindrical and of approximately 150ft and 7 diameters.
- The tank is closed after the wood has been moved inside.
- Air that got into the tank while putting in the wood is further removed from the cylinder.
- The chemical is infused in a large quantity into the cylinder and pressure is applied to make the preservative penetrate the wood.
- The last process is repeated based on the specie of wood being treated and the retention level required
- After this, excess chemical is removed, and the lumber also is removed and placed on a pad for 1 to 2 days to drip.
- The process ends, the wood is tagged, and our pressure-treated wood is ready.
Types of Pressure-treated Lumber
Treated wood can be categorized based on different factors such as a suitable place to be used, the specie of wood, types of chemical preservatives used, how deep the chemical is infused into the wood, and how fine the preserved lumber came out.
Pressure-treated wood can be classified based on the initial specie of the wood. For example Southern yellow pine, Douglas fir, etc. Each pressure-treated wood specie has specific places they can be used just like Cedar and Redwood are naturally used for decks.
Different chemical preservatives are used in lumber treatment. Examples are Alkaline copper quat, Borate preservatives, etc. Hence, the type of chemical used to pressure treat lumber can be used to specify them.
Also, the degree to which the chemical preservative is made to penetrate the lumber can be used as classification. For instance, pressure-treated wood meant to be used in marine must retain a high level of the preservative (2.5) compared to those to be used for framing, decks, swings, etc.
Most of the time, pressure-treated wood is categorized by usage. That is, Ground contact, above ground, and water immersed. For pressure-treated lumber designed to be used in contact with the ground, it is required that 0.40 pounds should have penetrated it per cubic foot.
Also, grades are given to pressure-treated lumber based on defects such as splits, spots, etc Hence these woods can be classified based on the following grades: premium, select, grade 1, grade 2, and grade 3.
Where Is Pressure-treated Wood Used?
Furthermore, due to the chemical composition of the treatment process that this lumber is subjected to, it is always advised to use pressure-treated wood for outdoor projects only. However, some of them are used for interior projects.
But, the precaution is that it should not be used in a place where it could get in contact with food. Also, it is preferred to use borate-treated wood, as it is considered safe compared to other copper and arsenic wood preservatives.
Interior use: Rafter, bed frame, archway, bathroom and laundry room woodwork, door frame, etc.
Exterior use: Telephone utility pole, deck, porch, joist, fence, wood step, etc.
Pressure-treated Wood Needs to Be Protected Regularly
Sincerely, you might think, pressure-treated wood is preserved and protected, do they still need additional protection? Yes, they still need further periodic protection.
Especially the ones exposed to constant moisture like porch, deck wood step, and fence.
To stain pressure-treated wood is to preserve it from water unlike pressure treatment which preserves it from insect attacks, decay, and fire. This is the reason there are materials like all-weather wood sealers to seal your treated lumber from water, mildew, splits, etc.
With some sealants, all you need to do is spray to coat your porch. However, more about sealing your pressure-treated wood will be discussed further.
Stain or Paint
Perhaps you are thinking of beautifying your wood step by painting or staining it. Yes, applying stain or paint to pressure-treated wood is possible.
However, it is good to put in mind that the procedures and precautions to follow in applying stain to this type of wood are quite different from that of untreated wood.
Also, you can paint your treated lumber, but certain precautions should be followed. Such as getting the right primer and paint suitable for your treated wood step.

Stain Is Better for The Pressure-treated Wood Deck
Well, as I mentioned, painting a pressure-treated wood deck or wood step is possible, but not recommended. You asked why right? This is basically because the chemicals in the wood might not allow the paint to adhere to the surface of the wood.
Another important reason is that the wood deck is always exposed to certain weather conditions that could make the paint deteriorate or wash off quickly. Hence, it is recommended to stain pressure-treated wood rather than paint.
Staining Pressure Treated Wood
Finally, you get to know how to stain your fence posts Here are the four procedures to follow:
- Cleaning
- Sanding
- Drying
- Staining
1. Cleaning
Before you start to stain a wood surface, I recommend beginning by removing all sources of dirt from the surface, be it oil, sand, leaf stains, mold, mildew, tough stains etc.
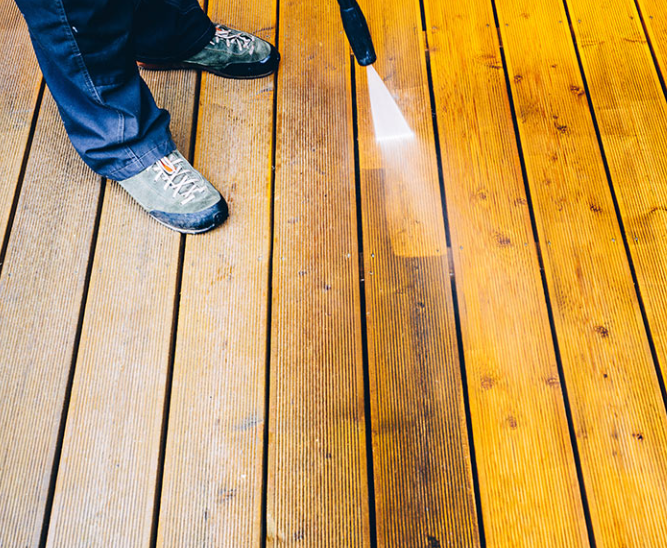
However, to be able to get rid of the dirt, you must buy the appropriate deck cleaner for your pressure-treated wood. If your woodworking is on older decks, it is advisable to use a pressure washer or power washer to remove long-standing dirt. After you wash the deck clean with a scrub, leave it to dry for some days before you go to the next step in the staining process.
2. Sanding
It is not advisable to sand treated wood, because the chemicals in the lumber will be sanded along with it, and this is dangerous to human health. Nonetheless, you need to sand your pressure-treated wood to smoothen the surface and effectively protect it with a stain.
Thus, make sure you adhere to certain precautions like using protective like an eye safety wear and a good respirator. After using a sander, wipe clean with a brush, cloth, or vacuum. Then move to the next staining process.
3. Drying
If you are working with a block of new pressure-treated wood, you should allow it to dry completely for at least 10 to 15 days before you sand and apply stain with a brush. Also, after sanding, ensure the wood is not wet again. If it does, you have to wait for the additional moisture to dry and sand again.
4. Staining
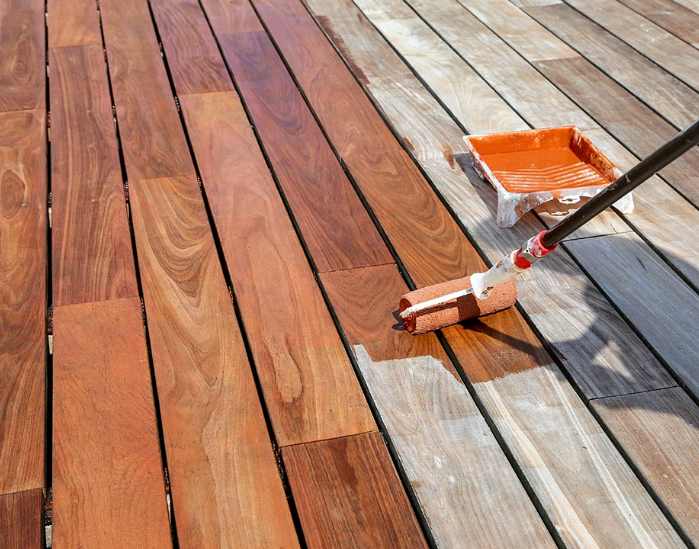
Lastly, you stain pressure-treated wood. For the staining process, you can choose to use a sealant, semi-transparent stain, or proper wood stain depending on the type of finish you want. Sealants and semi-transparent stains give a thin coat to your pressure-treated wood, while proper stains are quite thick. After this, you leave it to completely dry, and your stained pressure-treated wood is ready. Remember to choose a good stain product to give a good staining outcome.
Tips and Techniques for Staining Pressure-treated wood
1. Instead of using a brush to stain treated wood like a large deck, you can use a paint pad applicator. Get one from a local hardware store. After applying stain using this, you can now use a brush to stain intricate areas on your pressure-treated deck.
2. There are varieties of stains: oil-based stains, latex stains, water-based stains, etc. Also, remember that there are stains for exterior and interior purposes.
Thus, remember you need an exterior stain when choosing a stain for your pressure-treated wood. However, oil-based stains are widely used to stain pressure-treated wood.
Also, remember to follow the instruction given by the manufacturer of the wood stain you want to use. Because while some stains require at least one coat, others need two coats.
3. Again, ensure your pressure-treated deck is completely dry before applying a stain. Are you asking how to know if your pressure-treated wood is dried? Carry out these two tests. The first is Sprinkle Test, also known as Water Bead Test, and the second is Nail Test.
4. Do not be in a haste to stain pressure-treated wood if it is not yet dried. Take the proper steps in staining it, and do not avoid the waiting period. You can use a moisture meter to know the level of moisture in your pressure-treated wood deck. The required moisture level is said to be within the range of 7 to 15%.
5. Another important thing in staining is timing. That is, the time you choose for your woodworking project. Seeing that the drying process is important and cannot be manipulated, it is required to stain treated wood in a climate that will enhance drying. For instance, rainy weather prevents pressure-treated wood from getting dried and increases the chance of it getting wet frequently.
6. There is a difference between wood sealant and wood stain. It is either you choose one. You cannot use both together. Also, get the best stain.
7. If you are applying a sealant, a thin coat is enough. However, for a stain, you will need to apply two layers of thin coats for an effective result.
8. After applying your stain, it is advisable to back brush. That is, you apply a little force on the paintbrush so that the stain can sufficiently cover the narrow areas like the edges.
Dry Time
I know right. Waiting for that stained pressure-treated wood to dry up can be annoying. Especially when the weather forecast says it will be sunny, but the weather is average. Ordinarily, there is no specific time frame to stain pressure-treated wood. This is because the curing and dry-up time depend on a whole lot of factors. Some of such factors are the specie of wood, kind of stain, number of coats, stain ingredient, etc.
In other words, the time it takes for you to stain the treated wood deck and dry it is dependent on:
1. The wood your deck is made from. The treated wood used mostly for building decks is Douglas fir and Pine. If yours is a Douglas fir deck, then the staining period might take longer due to Douglas fir’s structure, varying pattern, and porosity.
2. Whether you use oil-based stain or water-based stain. Stain with water as solvent dries faster than oil stain.
3. The number of coats you are applying on your treated wood. If it is one coat, this takes approximately 24 to 44 hours for it to cure. If you are applying a re-coat, then the dry-up time might extend to 3 days or more.
4. Lastly, the ingredients used in formulating your stain will determine if the stain will dry faster on your treated wood or not.
How to Hasten Up The Drying Time of Pressure-treated Wood?
Do you just want to build a new deck with pressure-treated wood? It is advisable to have it kiln dried with the manufacturer before using it to build and stain it. This process takes time though. But, within 6 to 7 weeks, your treated lumber should have been dried. It can also be air-dried for a few weeks.
However, once the treated wood is kiln dried and used to build the new deck, make sure it does not get wet before you stain it. Thus, in this case, washing is not needed since it is a new deck, it can be stained immediately.
On the other hand, for old decks already built with treated wood, after you pressure wash to remove deep-seated dirt, all you need to do is to wait for it to dry before staining pressure-treated wood. For deck or wood step under a shade, it might take two to three days for it to get dry or even a few weeks.
However, for the fence and deck exposed to the sun, the dry-up time might not take long. let’s say between the first and second day. Altogether, the most important thing in staining pressure-treated wood is that you ensure the climate is favorable before you stain.
Making Your Stained Pressure-treated Wood Dry Faster
This is exciting, right? So instead of staining treated wood for days, you can take the easy way out.
Below are two major things you can do:
- Using a drying agent
- Using a heater
1. Using a drying agent
Depending on the wood stain you are using, add a suitable agent to dry it. An example of such an agent for wood stain is methylated spirit. All you need do is mix it with the stain before using it to stain pressure-treated wood. However, be careful not to add too much, and also check the label of your stain to see if such drying material can be added.
For oil stains, a common dryer is a mineral spirit. But, instead of adding the dryer to the stain before applying it, you spray it on the applied oil stain to make it dry faster. These agents are also called thinners. That is, they reduced the thickness of stains, thereby allowing them to be absorbed quickly.
But, note that there are different thinners for different wood stains. Also, it is preferable not to thin water-based stain because it is naturally thin due to its solvent. Hence, thinning water-based stains will make the stain thinner, requiring more coats and longer dry time.
However, oil-based stains that are used majorly to stain pressure-treated wood can be thinned to make it easily absorbed and fully dry.
2. Using a heater
Remember wood stain requires a moderately high temperature to be absorbed faster. Hence after you stain pressure-treated wood, to achieve this, you can make use of a space heater like a patio heater. That sounds reasonable, right?
Nonetheless, you need to be very careful in handling the heater in the open. Keep materials that can catch fire far from it and be always safety conscious.
Testing The Water Level of Your Pressure-treated Wood
The sprinkle Test involves sprinkling some water on the surface of your pressure-treated wood and observing if it gets absorbed or if the water beads on the surface. If the water gets absorbed, your pressure-treated wood is dry, stain it. If the water beads, you still need to wait for a few days before you stain.
For the nail test, get a nail inside the pressure-treated wood, if you observe that there is water around the nail, then you need to allow the wood to completely dry before staining pressure-treated wood.
Do Not Prematurely Stain Pressure-treated Wood Decks
When your pressure-treated wood is wet, the pores are still filled with water. Therefore, it is difficult for the wood to fully absorb the stain, and the whole woodwork staining becomes messy.
In other words, it is a waste of time to stain pressure-treated wood that is wet because the stain will not penetrate the pores of the wood if it is not sufficiently dry. The staining outcome becomes blotchy.
Also, because the oil-based stain is used mostly for treated lumber, the stain does not adhere to the wet wood to penetrate it. And once the moisture in the wood escapes, the stain falls off, and the staining looks terrible.
Benefits of Staining Pressure Treated Woods
You stain pressure-treated wood to make it more durable and more protected. Below are some of the advantages.
1. Non-stained pressure-treated wood might not last long. Did you just ask why? Here is it. A treated wood that is not stained and constantly exposed to UV rays, sunlight will get dried up. Also, when it is rainy, the rainfall penetrates the pores and the treated wood gets wet again. If this dry and wet cycle continues, the wood can split or get damaged. Hence, staining or coating is very important.
2. When you stain pressure-treated wood, you protect it from UV rays and other harsh weather conditions.
3. Stain does not peel off, unlike paint. Hence, it protects your wood for a very long time.
4. Treated woods contain harmful chemicals, hence it is advised to stain pressure-treated wood to have a problem-free environment.
5. Cleaning up stained treated wood is easier than cleaning unstained one.
Maintenance of Stained Pressure-Treated Wood Deck
Furthermore, you looked at your stained deck dripping with beauty and you want to know how much this can be maintained. Here are some beauty tips for maintaining your stained pressure-treated deck.
1. Sweep regularly to keep dust and other debris from reacting with heat and atmospheric moisture on your deck, leading to spots. You can use a garden hose.
2. Periodically, mop your deck stain with a mild home detergent and water.
3. Lastly, pressure washing, and staining your treated wooden deck can be done again let’s say every 2 to 3 years as a form of long-term maintenance.
Conclusion
I hope this article has been able to answer all your speculations on how to stain a pressure-treated wood deck. Now, you know you can stain pressure-treated wood, and that oil-based stains are preferable.
Also, you know that you must let your pressure-treated wood get dried before staining and that you can speed up your stain dry-up time with a certain agent. With all this information and more, I must say you are ready to stain a pressure-treated wood deck like a professional. Kindly get to work and creatively bring out that stained deck masterpiece.

My name is Mark, and I am a software engineer and the founder of OnWoodWorkingArt.
I grew up with a passion for woodworking and now have my woodworking studio with a group of like-minded friends who love to create woodworking. My dream is to have a more extensive workshop and be able to make woodworking my main business.