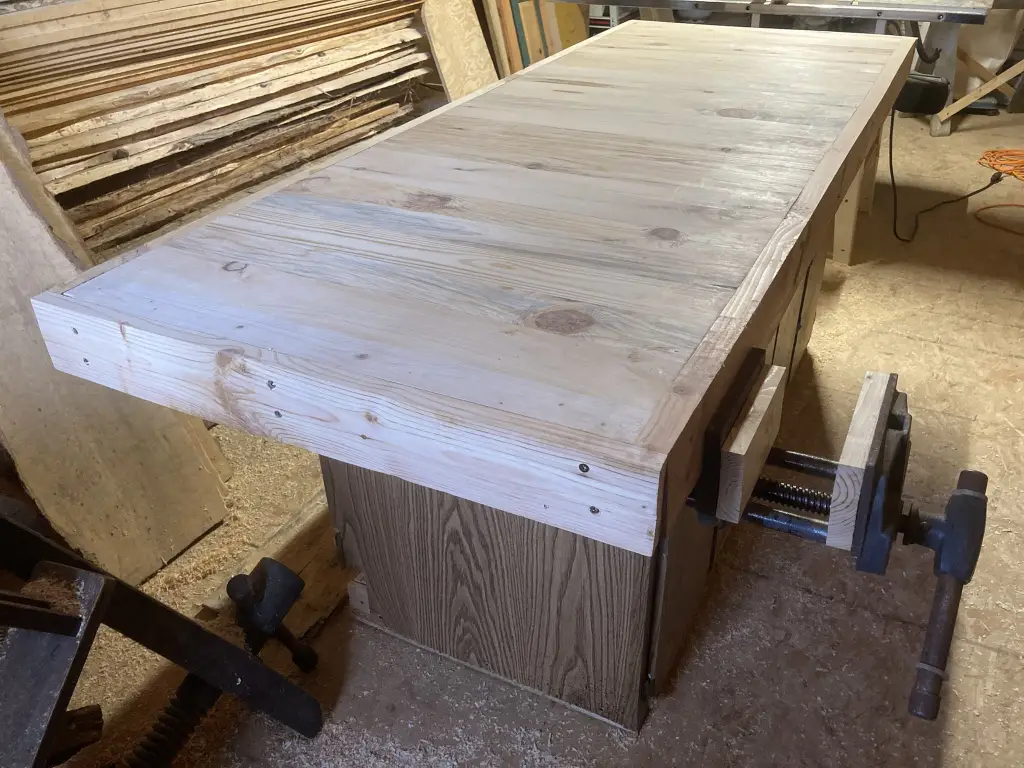
Poplar is one wood that stands out because of how cheap it is to get it, coupled with the fact that it is firm for use.
But, staining poplar to look like walnut or making it look like any other color takes a lot of time and effort because of how difficult it is. But, this article will give you some tips to help.
Next, let’s take a look at the steps for staining poplar to walnut:
- Prepare Your Work Area
- Use Sandpaper on Your Wood
- Varnish Your Wood Before Staining
- Apply The Stain
- Let It Dry
- Applying The Second Coat Of Stain
- Applying Polyurethane Finishes for Protection

Prepare Your Work Area
This first step applies to every staining you want to do, even with other woods. You should prepare your work area and ensure you work in an airy place.
This is important because you use chemicals for treating the poplar wood for staining. As with all chemicals, it can be hazardous to the body if the chemical is contained in a particular area.
Don’t leave out purchasing protective gear for yourself like air respirators, gloves, etc. These gears can be easily gotten at stores near you.
Bonus tip, wear your air respirator when you are not sitting; this will ensure that you are not breathing in the particles of the wood you are trying to avoid.

Use Sandpaper on Your Wood
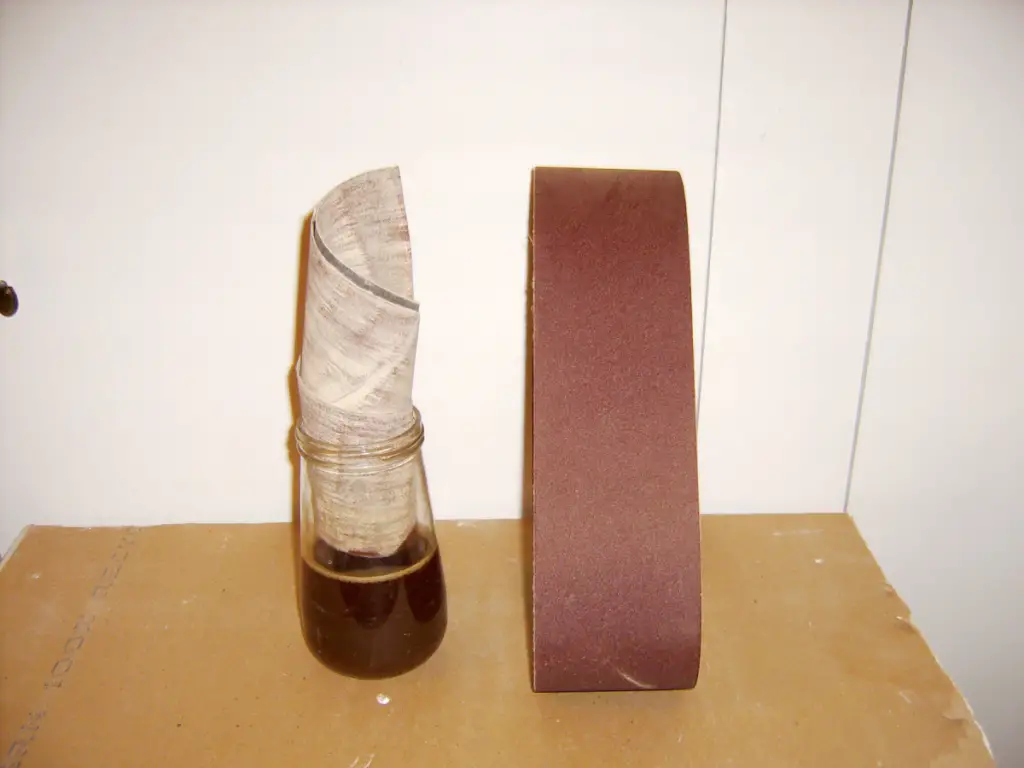
Staining poplar to look like walnut can be such a hassle. That is why before staining, you should rub 80 grit sandpaper on your wood because it will make your poplar coarse and absorb the staining products you will be using.
When rubbing this sandpaper, closely look at the direction of the grain on the poplar and rub it well to remove marks.
After you are through, pick a 180 or 220 sandpaper and even out the wood to make it fine and neat. You should aim for an even texture on your hand when you rub it. This is important before you proceed to stain it.
Also, ensure that the wood shavings have been properly removed from the poplar. You can blow it or use clothing to clean it out.

Varnish Your Wood Before Staining
You must varnish your wood before staining. You can get a varnish gel from any store.
Before applying the varnish, mix it properly, then use a rag to apply it to your poplar. After about 10 minutes, wipe off the excess and allow it to dry for a night.
Use a liquid soap with water to wash your wood before reapplying the varnish.
Apply The Stain
It is recommended that you pick a gel stainer over a liquid stainer for your poplar because of how easy it is to absorb and the thickness of the gel.
The good thing is that there are various colors to choose from to get that walnut look you are going for, so ask the people selling the stain to you.
You can use a rag or a brush to apply the stain to your poplar. Use any material that works best for you and will be easier.
Immediately you are done coating the wood with gel, use a rag to wipe off the excess stain that may have accumulated when you applied. Removing the excess makes the stain thinner and makes your poplar have a lighter coloring which is always lovely.

Let It Dry
After you must let the walnut, you must let it dry for about a day because stains do not easily dry on these surfaces and may take about 8 hours to begin drying.
You don’t want to rush and start working when you haven’t allowed the stain to settle well into the poplar. So, allow it to dry for a day. You will know it’s completely dry when you touch it, and it feels dry.
Applying The Second Coat Of Stain
Letting your poplar dry for a day makes it easy to spot the areas where the stain didn’t touch well. This is the point you reapply the stainer so that you can easily even out the parts that are not consistent.
You must remove the excess stain afterward and allow it to dry well. Some people apply mineral spirits on areas that are too stained or dark when they notice that the stain hasn’t dried to lighten it, and it works.
Applying Polyurethane Finishes for Protection
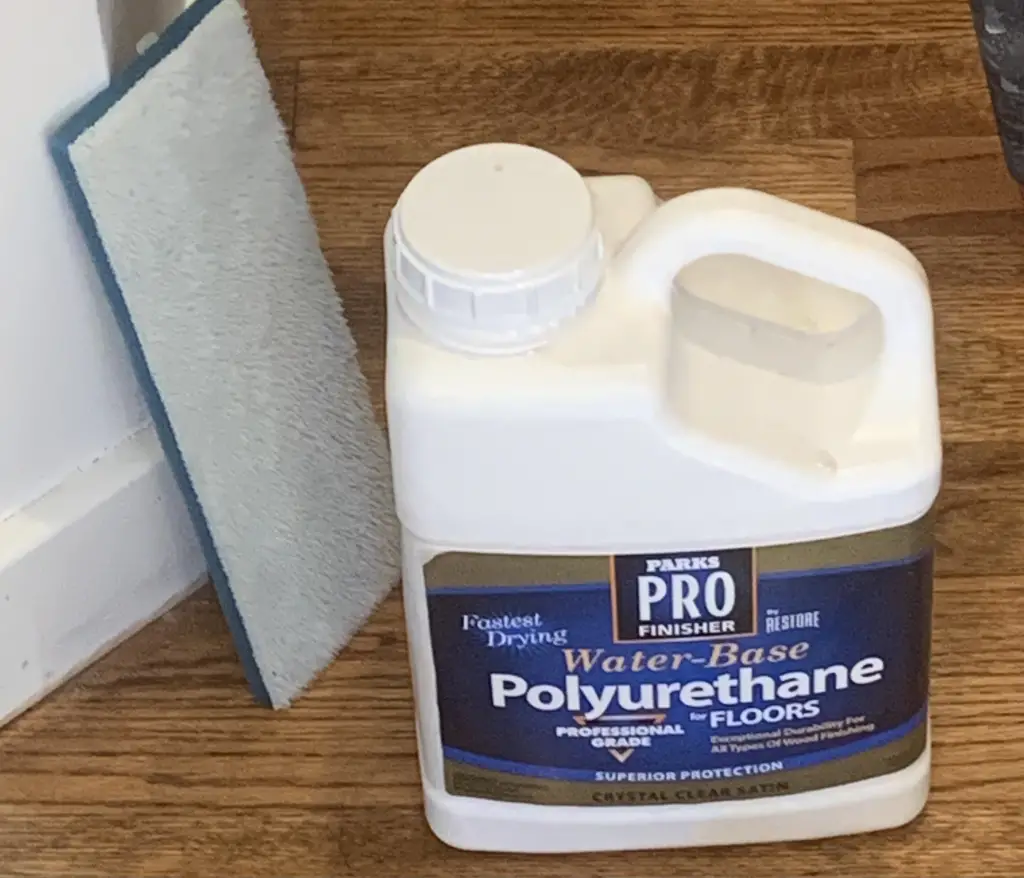
The next step is to use either shellac or polyurethane as a finisher on your poplar. These two products have different functions.
With Shellac, your wood color can be brightened, while with polyurethane, you get a waterproof texture on your wood.
A rag or brush can be used to apply this to the wood when you are done with staining. You don’t have to repeatedly coat it and aim for an even look or feel on the poplar.
After applying it, wait 30 minutes to 2 hours for it to dry well. Each finisher you use has its drying duration, so look at the instructional guide on the finisher to know how long you should wait.
As with a stainer, you can reapply the finisher if you notice that there are areas that weren’t previously covered or touched.

Final Thoughts
Following these steps on staining poplar to look like walnut is easy for you to do. But, what you shouldn’t forget is disposing of the items you use wisely because of how flammable they are.
Also, try to work in a spacious and airy environment for your safety. It is also advisable to test your staining product on a piece of wood or anything else before applying it to the real wood.

My name is Mark, and I am a software engineer and the founder of OnWoodWorkingArt.
I grew up with a passion for woodworking and now have my woodworking studio with a group of like-minded friends who love to create woodworking. My dream is to have a more extensive workshop and be able to make woodworking my main business.
